Execute installation program
Starting installation
The installation procedure comprises several steps:
-
Stop the Tomcat that is to be used for web application
-
Run the installation programme
The installation programme is either started executing the provided script
[CD]/Software/install-monitor.bat
or through execution of the command
java –jar [CD]/Software/ct-monitor-installer-[VERSION].jar
-
State the configuration parameters and complete the installation (see following subchapters for help)
-
Manual adjustments to the servlet runtime environment.
-
Run Tomcat
Basic steps
Provide license file
You’ll need to provide an license file during installation process. The file will be copied to the web application during installation process. If you do not have a license file for service.monitor although you are a licensee please contact con terra Support.
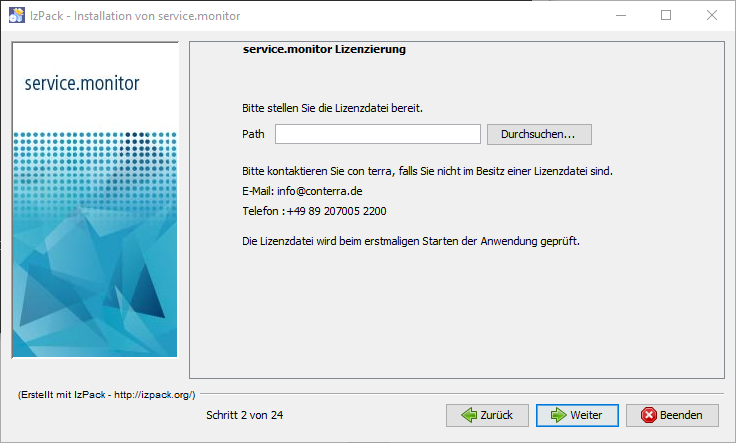
| The validity of the license file will be checked during application startup, not while performing the install. |
Select the packs to be installed
There are two options available for installation:
-
service.monitor application
-
Tomcat Web-Context registration

Checking the option "Tomcat Web-Context registration" will automatically register the application in an Apache Tomcat instance. The service.monitor core package is mandatory for installation and cannot be unchecked.
Common configuration steps
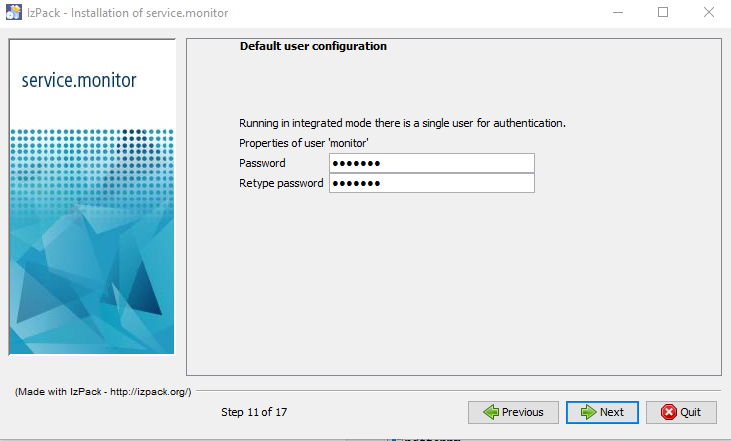
Set password for internal user monitor
Here a password is assigned for the internal user monitor, which allows access to the application.
The user is part of the integrated authentication procedure, which is the default after installation.
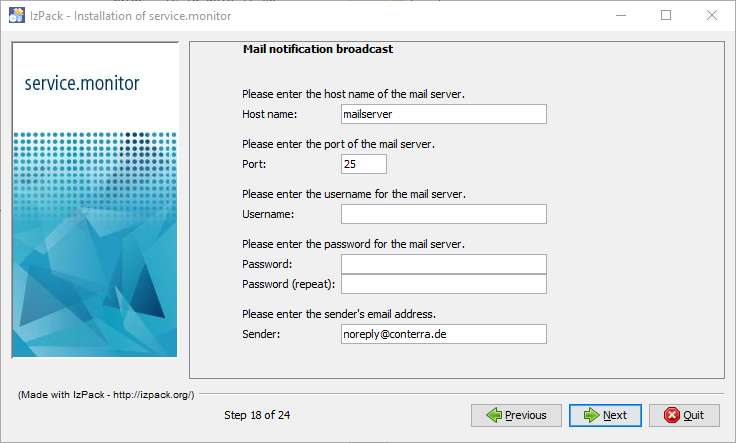
Mail server configuration
Please enter the desired information for accessing the mail server instance. It may be necessary to enter credentials for the server if it requires authentication.
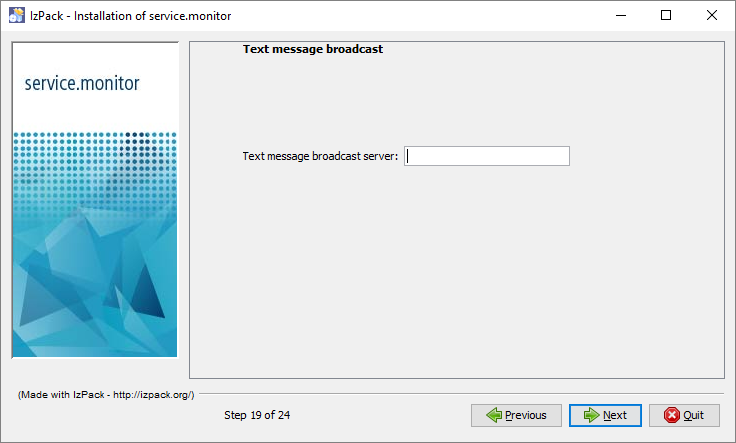
Text message (SMS) configuration
service.monitor supports text messaging via external services providing an SMTP based interface for sending text messages (i.e. http://www.ecall.ch/). Doing so service.monitor sends E-Mails to the specified broadcast server using the sender address specified in the previous panel. Most providers require this address to be on an internal white list allowing this mail-to-sms transition.
The text messaging option is not available in service.monitor administration if you leave the broadcast server field empty.
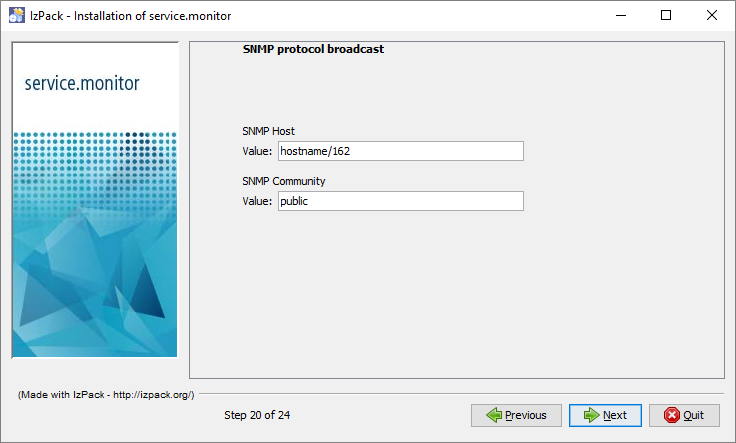
Simple Network Messaging Protocol message (SNMP) configuration
service.monitor can be configured to send SNMP trap messages to a central management instance. Please specify the host and the port the management instance is running on.
Please empty the field "SNMP Host" if you don’t want to have this option availabel in service.monitor administration UI.
Finish
Once the security.manager and service.monitor have been successfully installed and are running, all the installed modules will be available as web applications.
http[s]://[SERVER]:[PORT]/monitor
|
For monitoring Esri Enterprise Geodatabases, you need to accomplish some more configurational steps:
|