Creating a New Gate
A new gate can be generated by clicking the Create new gateway button.
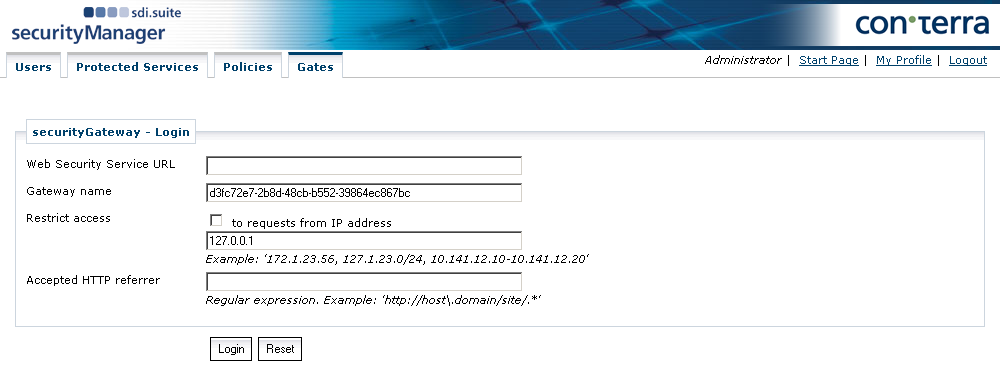
First of all, the URL of the Web Security Service is entered, followed by a name for the gate under Gateway name. A suggested name is displayed, but can be changed as wanted. It is possible to restrict access to IP addresses or address ranges by checking the Restrict access checkbox and entering an IP address or address range. Address ranges are defined with the aid of '-' and '/', whereby '-' means 'from - to' (for example the final block of 192.168.2.100-200 allows all addresses between 100 and 200) and '/' means 'and' (for example the final block of 192.168.2.100/200 allows only 100 and 200 and none of the intermediate addresses).
To navigate to the login page associated with the gate to be created, click Login. After successfully signing in, the gate is listed in the Gates tab.