Install the web application
|
This page describes how to set up a new installation of map.apps. To update an existing installation, see Update an existing installation instead. |
To install the map.apps client perform the following steps :
-
Optionally, you can first change the name of the WAR file (
mapapps.war) from themap.apps-4.12.3directory. The name is used in the URL to launch the application (for examplehttps://<yourserver>/mapapps). -
Make sure that the Tomcat service is started.
-
Then copy the WAR file to the
%TOMCAT%\webappsfolder. The file is extracted automatically.
Alternatively you can use the Tomcat Manager to install the WAR file. If the Tomcat service is started, you can usually reach the Tomcat Manager athttp://<yourserver>:8080/manager/html. -
In order to use the map.apps installation as an administrator or editor, it is required to set default passwords for the admin and editor user. For details, see Integrated security mechanism.
The application is now available under this URL: https://<yourserver>/mapapps.
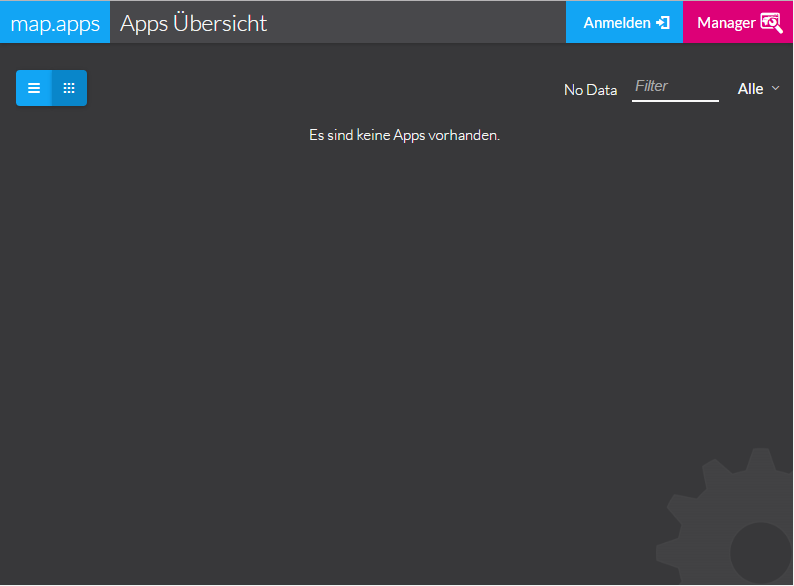
If you load the web context after deployment, you see an empty app overview, as shown in the following screenshot:
| To learn how to create your first app, see Getting started. |
|