Dynamic spatial restrictions with user attributes
In this tutorial, you will learn to define a spatial restriction based on the user name. You will create a spatial restriction to the Continents (1) layer that filters content based on countries whose names start with the same letter as the username.
This tutorial was tested for ArcGIS Enterprise 11.5 in December, 2025.
Prerequisites
This tutorial is based on the Dynamic feature restrictions with user attributes tutorial. The preconditions are the same for both. You can do this tutorial separately but keep in mind that your policy file might look different.
-
security.manager NEXT is installed.
-
You can use five user accounts:
-
An administrative user account to administer security.manager and Portal.
-
4 non-administrative user accounts to test the access:
-
Alex is in groupX
-
Bob is in groupY
-
Charlie is in both groupX and groupY
-
Dana is neither in groupX nor groupY
-
-
-
You can use the service SampleWorldCities for this tutorial. So, you can restrict access to the service.
Add a dynamic spatial restriction
security.manager NEXT provides spatial filters that are based on user attributes like the user name. The easiest way is to add a spatial restriction template and then modify the query.
You can add templates by pressing Ctrl+Space. This function displays available examples, descriptions, and code snippets.
Add a spatial restriction template
First create a spatial restriction without replacing the placeholders and reference it to a new fallback policy for layer Continents (1).
-
Add a new line at the top of the
restrictionsobject. -
Type
"country_username_filter":and select Spatial restriction from the autocompletion list. -
Create a new fallback policy by adding a comma and a new policy template to the end of the
fallbackPoliciesarray.{ "fallbackPolicies": [{ "layers": [ "0" ], "restrictions": ["cities_only_names", "cities_username_filter"] },{ "layers": [ "1" ], "restrictions": ["country_username_filter"] }], "restrictions": { "country_username_filter": { "type": "spatial", "featuretypeurl": "https://myserver:6443/arcgis/rest/services/folder1/service1/FeatureServer/0", "featurequery": "state = 'California'" }, "cities_username_filter":{ "type": "feature", "query": "CITY_NAME LIKE UPPER(SUBSTRING('${user.username}', 1, 1)) || '%'" }, "cities_only_names":{ "type": "field", "allowedfields": [ "CITY_NAME" ] } } } -
Add a
1to the empty layers string. -
Add a
restrictionsarray and reference the new spatial restriction.
Now, you have created a spatial restriction for a fallback policy. Your policy will look like this:
{
    "fallbackPolicies": [{
        "layers": [
            "0"
        ],
        "restrictions": ["cities_only_names", "cities_username_filter"]
    },{
        "layers": [
            ""
        ]
    }],
    "restrictions": {
        "country_username_filter": {
            "type": "spatial",
            "featuretypeurl": "https://myserver:6443/arcgis/rest/services/folder1/service1/FeatureServer/0",
            "featurequery": "state = 'California'"
        },
        "cities_username_filter":{
            "type": "feature",
            "query": "CITY_NAME LIKE UPPER(SUBSTRING('${user.username}', 1, 1)) || '%'"
        },
        "cities_only_names":{
            "type": "field",
            "allowedfields": [
                "CITY_NAME"
            ]
        }
    }
}
Adjust the query
So far, only placeholders have been used for the spatial restriction. Replace them now with the desired values.
-
Replace the value of the
featuretypeurlproperty with https://services.conterra.de/server/rest/services/security_demos/World_Countries/FeatureServer/0. -
Replace the value of the
featurequeryproperty with"NAME LIKE UPPER(SUBSTRING('${user.username}', 1, 1)) || '%'".This SQL query is similar to the SQL query of the previous tutorial.
-
Define that the
imageoperationproperty of that restriction is set toarcgis-clipping. -
Click Save changes and restart.
The complete policy should now look like this:
{
    "fallbackPolicies": [{
        "layers": [
            "0"
        ],
        "restrictions": ["cities_only_names", "cities_username_filter"]
    },{
        "layers": [
            "1"
        ],
        "restrictions": ["country_username_filter"]
    }],
    "restrictions": {
        "country_username_filter": {
            "type": "spatial",
            "featuretypeurl": "https://services.conterra.de/server/rest/services/security_demos/World_Countries/FeatureServer/0",
            "featurequery": "NAME LIKE UPPER(SUBSTRING('${user.username}', 1, 1)) || '%'",
            "imageoperation": "arcgis-clipping"
        },
        "cities_username_filter":{
            "type": "feature",
            "query": "CITY_NAME LIKE UPPER(SUBSTRING('${user.username}', 1, 1)) || '%'"
        },
        "cities_only_names":{
            "type": "field",
            "allowedfields": [
                "CITY_NAME"
            ]
        }
    }
}
You defined a query that filters the Continents (1) layer by countries whose names start with the same letter as the user’s name.
If a user with user name sasha requests that layer of the SampleWorldCities service, the SQL query of the featurequery is NAME LIKE UPPER(SUBSTRING('sasha', 1, 1)) || '%'.
This query resolves to NAME LIKE 'S%'.
The user gets those parts of the Continents (1) layer that are in countries starting with S like Saudi Arabia, Sweden or South Korea.
These parts are cut out as if with a cookie cutter.
Verify configuration
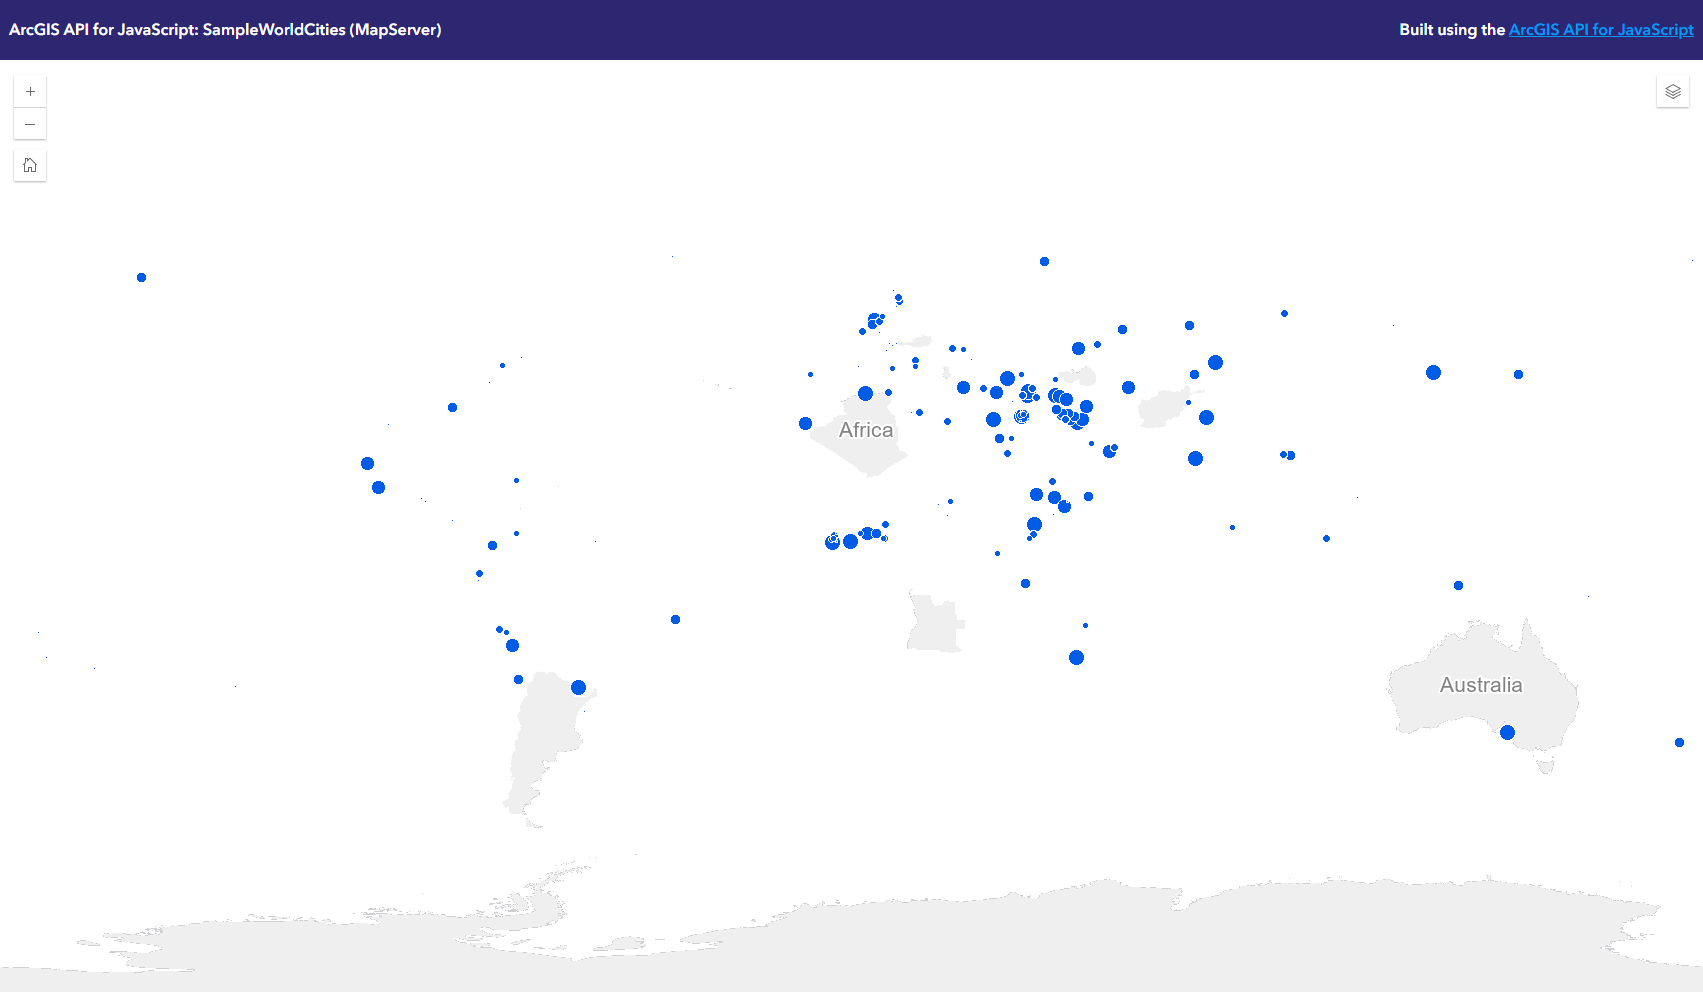
To verify the previous configuration, access the SampleWorldCities service with all four users.
-
Open a private browser.
-
Go to the ArcGIS REST Services Directory and log in as user Alex.
-
Navigate to the service metadata of the SampleWorldCities service.
-
Click on View in: ArcGIS JavaScript.
-
You will see all cities whose names start with an A.
-
You will see all parts of the Continents layer that are inside countries starting with A, like Argentina, Australia or Afghanistan.
Redo the steps with the other users to verify that the Continents layer is filtered correctly.
-
Bob sees the continents layer in countries starting with B, like Bangladesh, Bolivia or Botswana.
-
Charlie sees the continents layer in countries starting with C, like Canada, Cambodia or China.
-
Dana sees the continents layer in countries starting with D, like Denmark or Dominica.
Summary
You learned to create a spatial restriction that grants access to features based on the user name. You created a restriction that filters the Continents layer spatially to those countries whose names match the first letter of the user’s name.
You have now completed all tutorials on creating policies. You can continue with the Automation & CI/CD tutorial to learn more about Continuous Integration/Continuous Delivery (CI/CD).