Installation for federated ArcGIS Server
|
Configuring ArcGIS Enterprise URLs
When installing security.manager NEXT or using the CLI you have to specify the base URL of the ArcGIS Enterprise Portal. We recommend to use the direct URL If you instead want to use the Web Adaptor URL for ArcGIS Server, ensure that Manager UI and CLI can access the ArcGIS Server Administrator Directory.
For example, if your web adapter URL is |
Install SOI
To install the SOI you need to upload at least one SOE file to ArcGIS Server, depending on your setup and your ArcGIS Server version.
For ArcGIS Server 10.9.x follow these steps:
-
Sign in to ArcGIS Server Manager and navigate to the Site section.
-
Click Extensions → Add Extension to upload both SOE files from
[SECMAN_DIST]/soi/ArcGIS 10.x.If ArcMap Runtime support is disabled on ArcGIS Server (version 10.9.1), ArcGIS Server won’t let you upload the SOE file for ArcMap (ct-security-soi-arcmap.soe). In this case you only need to upload the SOE file for ArcGIS Pro (ct-security-soi-arcgispro.soe). Then proceed with the next step of this guide. If you decide to enable ArcMap Runtime support later on, you need to upload the SOE file for ArcMap-based services as well to be able to secure ArcMap-based services afterwards.
For ArcGIS Server 11.x follow these steps:
-
Sign in to ArcGIS Server Manager and navigate to the Site section.
-
Click Extensions → Add Extension to upload the SOE file ct-security-soi-arcgispro.soe from
[SECMAN_DIST]/soi/ArcGIS 11.x.
Install Manager UI
Register at ArcGIS Enterprise portal
The Manager UI has to be registered as a web application at the ArcGIS Enterprise portal to make use of the portal’s single sign-on feature. Follow the next steps to register the application:
-
Log in to portal as a privileged user.
-
Switch to tab Content.
-
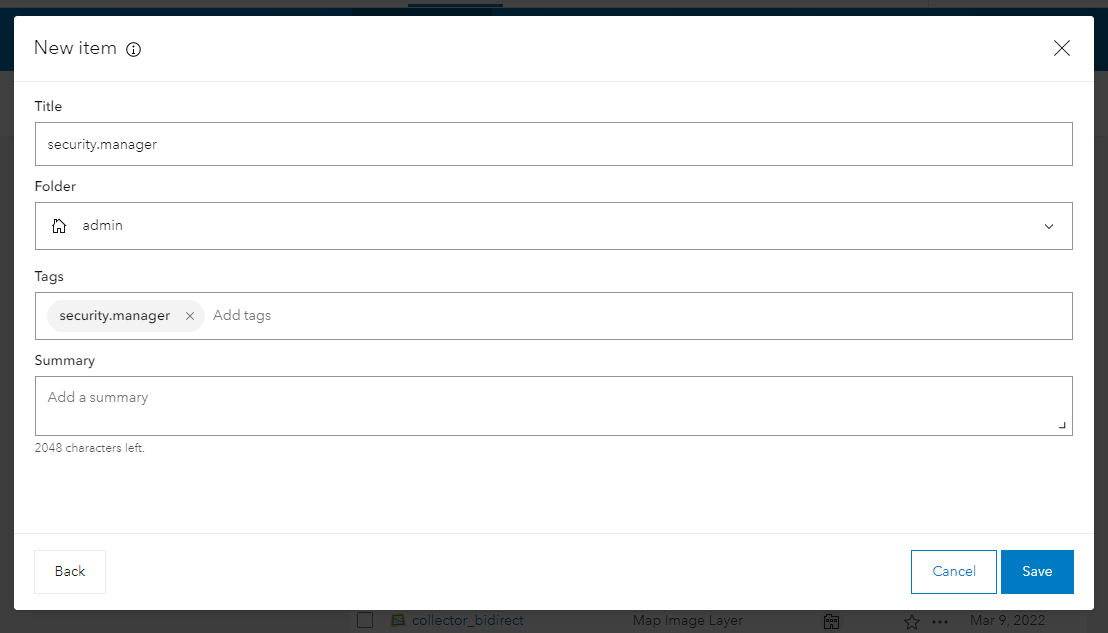
Click New Item → Application.
-
Select Other Application
-
Click Next and use the following settings:
-
Title:
security.manager -
Tags:
security.manager
-
-
Click Save (or Next, depending on the portal version).
-
The overview for the new portal item security.manager is displayed.
-
-
Click Settings and go to section Application.
-
Enter in URL:
https://<tomcat-host>/secman-nextreplacing<tomcat-host>with the actual hostname and port. This will be the URL to the application.-
In the Redirect URLs section, click Add and enter the Redirect URL:
https://<tomcat-host>/secman-nextreplacing<tomcat-host>with the actual hostname and port. -
Store the Client ID (or App ID, depending on the portal version) somewhere — it will be needed during the configuration of Manager UI web application.
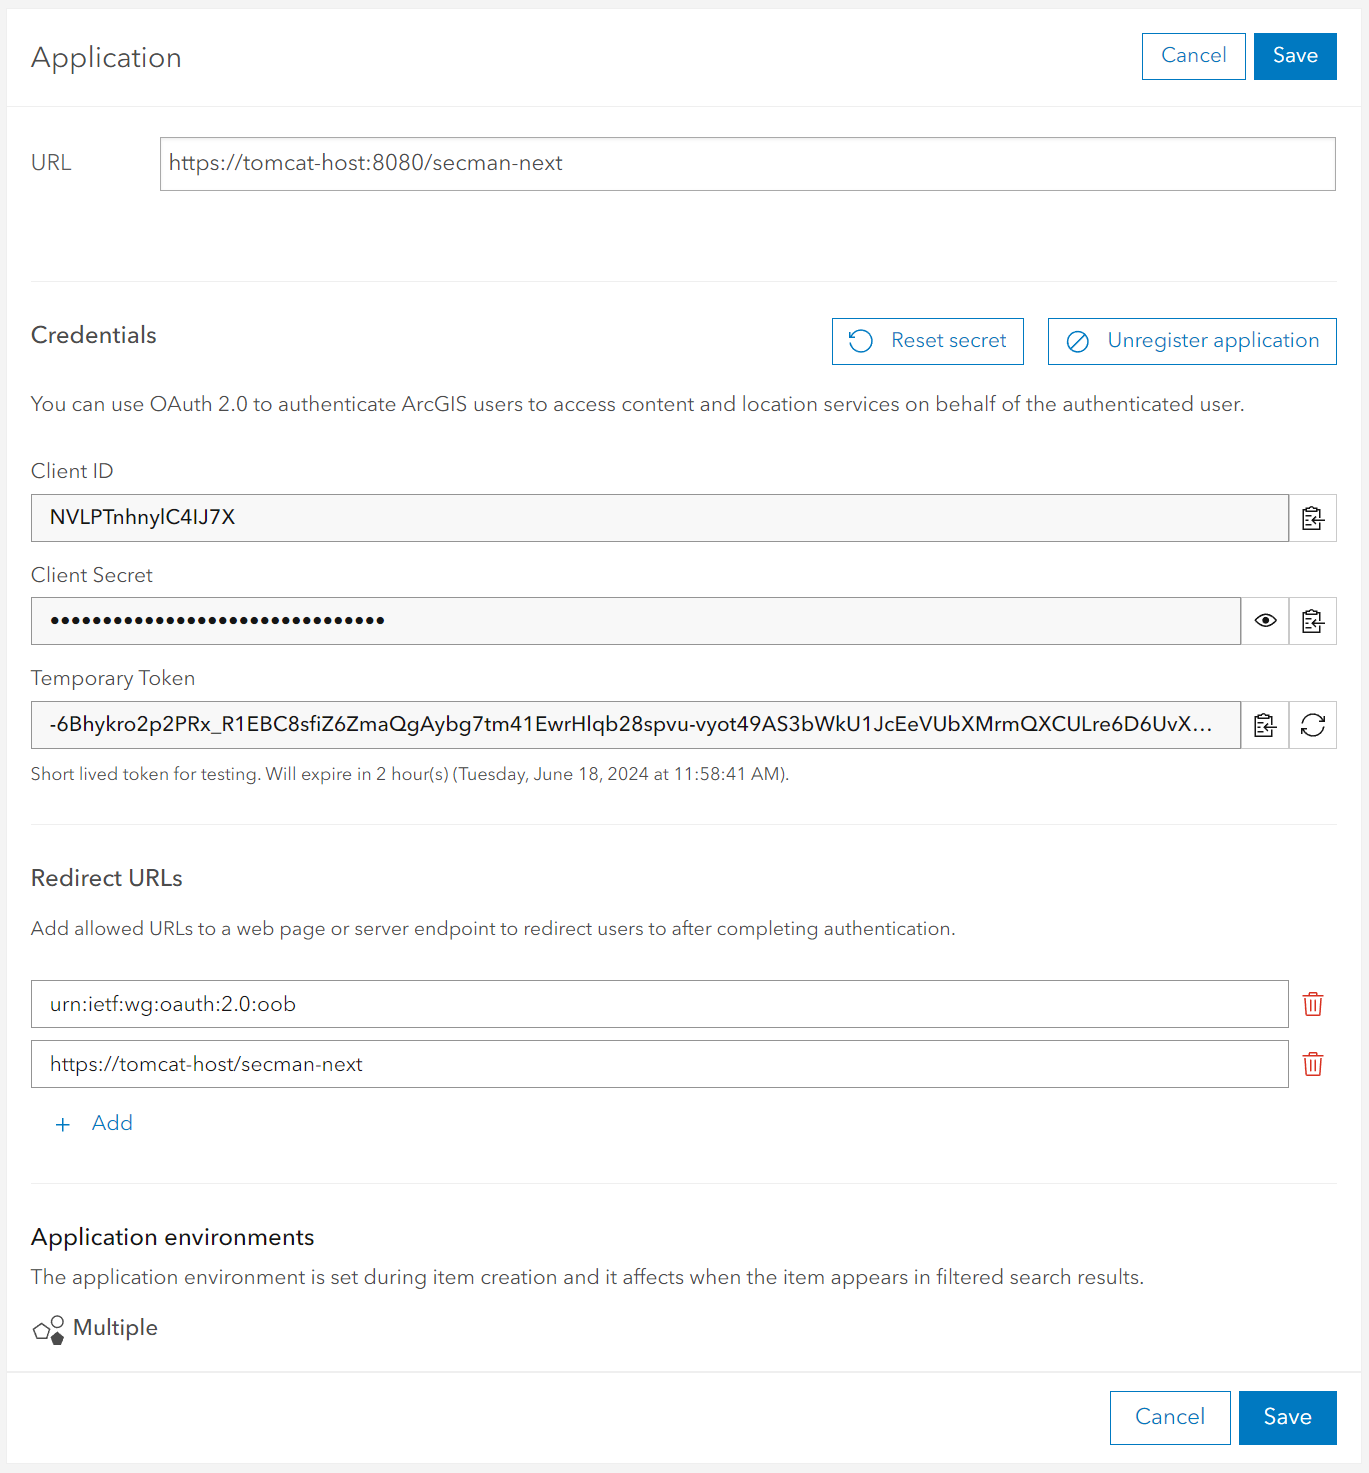 This screenshot shows the user interface for ArcGIS Enterprise Portal 11.3.
-
-
Click Save to confirm the changes made in the application settings.
Deploy to Tomcat
-
Make sure that the Tomcat service is started.
-
Deploy the Manager UI web application by copying
[SECMAN_DIST]/secman-next.warto[TOMCAT]/webapps.Alternatively you can use the Tomcat Manager to deploy the WAR file.
Configure the application
Before you can use the Manager UI, you need to edit some configuration settings. Otherwise, you won’t be able to login to the application.
To configure the Manager UI follow these steps:
-
Copy the template config file
[SECMAN_DIST]/resources/application.propertiesinto the folder${user.home}/.secman-next/.${user.home}refers to the home directory of the user running the Tomcat service.If the Tomcat server does not run under a dedicated user, it runs as Local Service. In this case the directory is created under the following path:
%systemroot%/ServiceProfiles/LocalService/.secman-next/.If you want to use another location for the
application.propertiesfile, edit the value ofdata.directory.locationin[TOMCAT]/webapps/secman-next/WEB-INF/classes/custom-application.propertiesas described in the configuration reference. -
Edit the new, copied
application.propertiesfile and adjust the following values:-
security.authn.oauth.clientId=<Client ID within Portal> -
policyManagement.arcgisServers=<List of federated server URLs> -
policyManagement.portalUrl=<Portal URL>
The properties are described in the configuration reference.
-
-
Please note the special requirements when using Integrated Windows Authentication.
-
Restart Tomcat, so the modified configuration is read.
Install CLI
You have got two options to install secmanctl.
Either you directly use the executable shipped with security.manager NEXT or you install the tool from the npm registry.
Install from shipped executable
secmanctl is shipped as an executable file for Windows and Linux operating systems (x86-64 architecture).
It is located at
-
[SECMAN_DIST]/cli/linux_x64/secmanctlfor Linux. -
[SECMAN_DIST]\cli\windows_x64\secmanctl.exefor Windows.
The directory containing the executable can be copied to another location.
Files located next to the executable may be required by secmanctl at runtime and should be included when copying the binary.
You should add the location to your system’s search path ($PATH or %PATH%, for example).
So you can run secmanctl without having to specify the full path to it.
Depending on your operating system, it may be necessary to grant executable permissions to the secmanctl binary.
Install via npm
secmanctl is also available as a package in the public npm registry.
To install secmanctl on your system, you need to install Node.js (and npm) if it is not already installed.
|
System requirements
For using
|
Install the command line tool and register it as a global executable on your system by running:
$ npm install @conterra/secmanctl -gVerify the installation by executing the following command:
$ secmanctl --versionPlease note for usage of the secmanctl the special requirements when using Integrated Windows Authentication.
After the installation
After finishing the installation you can:
-
Get started with security.manager NEXT by protecting a service by example.
-
Learn more about managing access policies.