Apps and bundles
The smart.finder client applications are built on top of the map.apps framework. Each smart.finder application that is running in a web browser is made up of several bundles, where each bundle adds a certain functionality to the app.
To customize the smart.finder user interface some basic knowledge of map.apps is required. The most important basics for starting the configuration are briefly explained below.
Basics for configuring apps in map.apps
Web-applications based on map.apps are called apps. In map.apps you can configure any number of apps using configuration files. Every app is based on a set of program modules, so-called bundles. In addition to the bundles that come with map.apps, smart.finder provides bundles implementing specific smart.finder features.
Each app in map.apps includes a configuration file called app.json.
This defines which bundles are included in the app and how these bundles are configured.
Editing the app configuration file
There are two ways to edit an app.json file.
-
Edit the file directly in the file system if you use smart.finder as a standalone product, i.e. without having installed a separate map.apps instance.
-
Edit the apps in map.apps Manager, if you already have a running map.apps instance.
Edit apps in the file system (smart.finder running standalone)
If you use smart.finder as a standalone product without having an existing installation of map.apps, you will find the app.json files for each app at the following location:
`[TOMCAT]/smartfinder/js/apps`
There are separate folders for each app where the folder names and the names of the apps are the same.
You can edit the files with a common text editor. Make sure to save the files encoded in UTF-8 to avoid issues with broken special characters.
Editing in map.apps Manager (with existing map.apps instance)
If you have installed the smart.finder bundles in an existing map.apps instance, you can edit the app.json files in map.apps Manager.
Proceed as follows to open the app.json file for an app:
-
Open map.apps Manager in a web browser. By default, this can be accessed at
https://<yourserver>/mapapps/manager. -
In the Apps tab, click on the app you want to change. A dialog window pops up.
-
Click App Editor. A text editor will open showing the contents of the
app.jsonfile. -
You can now modify the file.
-
When completed, save the file by clicking "Save".
The structure of an app.json file
An app.json file follows the JSON syntax. The most important properties at root level of the document are load and bundles.
load-
Contains the list of the bundles to use in the app as well as links to additional resources to load.
bundles-
This section contains the configuration for the bundles used in the app.
The load section for the bundles used in the app
List the names of the bundles required for your app in the load.allowedBundles property.
If you want to load a specific version of the bundle, you can append the version number after the @ sign.
If you do not specify a version the latest available version of the bundle will be loaded.
In the following excerpt from an app.json file, you can see that, among others, the bundles system, splashscreen, and templatelayout are loaded into the app.
{
    "load": {
        "allowedBundles": [
            "system@2.1.1", // Here we load version 2.1.1 of the bundle
            "splashscreen@2.1.1",
            "templatelayout", // Here the latest version of the bundle available in our map.apps installation is loaded
            "..."
        ]
    }
}
Configuration of the bundles
Each bundle usually consists of one or more components. When configuring a bundle, you apply the configuration to these individual components. Like bundles have names, each of the components has a unique name within the bundle, too.
The bundle configuration is made up according to the following pattern:
{
    "bundles": {
        "<BundleName>": {
            "<ComponentName>": {
                "<Property>": "<Value>"
            }
        }
    }
}
To configure a component, you set certain values for the properties that the component exposes.
Example
In this example we want to configure the Type facet we have in our app’s result list to be initially open.
The configuration for the facets is done with the facets property on the component InitialFacetsPropertiesConfig in the bundle sf_resultsmodel. So the configuration looks as follows:
{
    "load": {
        "allowedBundles": [
            "system",
            "splashscreen",
            "templatelayout",
            "..."
        ]
    },
    "bundles": {
        "sf_resultsmodel": {
            "InitialFacetsPropertiesConfig": {
                 "facets": [
                    {
                        "name": "type",
                        "panelExpanded": true
                    }
                ]
            }
        }
    }
}
The facets property’s value is an array of objects where each object has a name property. The name property refers to the name of the facet we aim to configure. We can add the configuration properties for the type facet to this object.
One of these properties is panelExpanded. It controls whether the facet is initially expanded or collapsed. If we set it to true the facet is expanded. The value false sets the facet to a collapsed state.
For attributes that are not configured in the app.json file, default values are used. These are retrieved from the manifest.json files, that are a part of every map.apps bundle.
Bundle documentation
You will find the documentation of the configuration options for the individual bundles at the following address:
https://<yourserver>/smartfinder/resources/jsregistry/root
The names of all smart.finder bundles have the prefix sf_. This makes it easier to distinguish them from the map.apps standard bundles.
|
You can find further tips and information about map.apps, especially about the map.apps standard bundles, in the con terra Developer Network .
Configuring features in smart.finder
In the following we will discuss the various functions of the smart.finder user interface, which can be adapted to your own wishes by configuration in the app.json files.
Create a backup of your app.json files before making any changes to them.
|
Basic configuration of an app for smart.finder
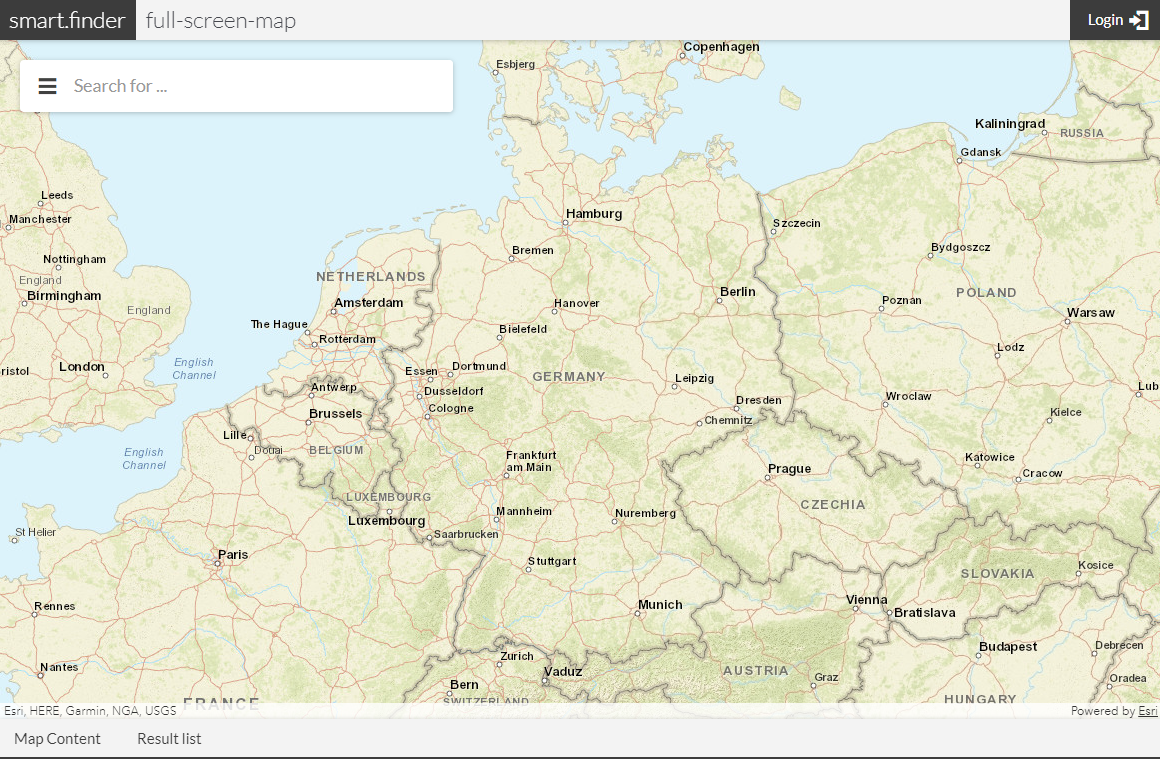
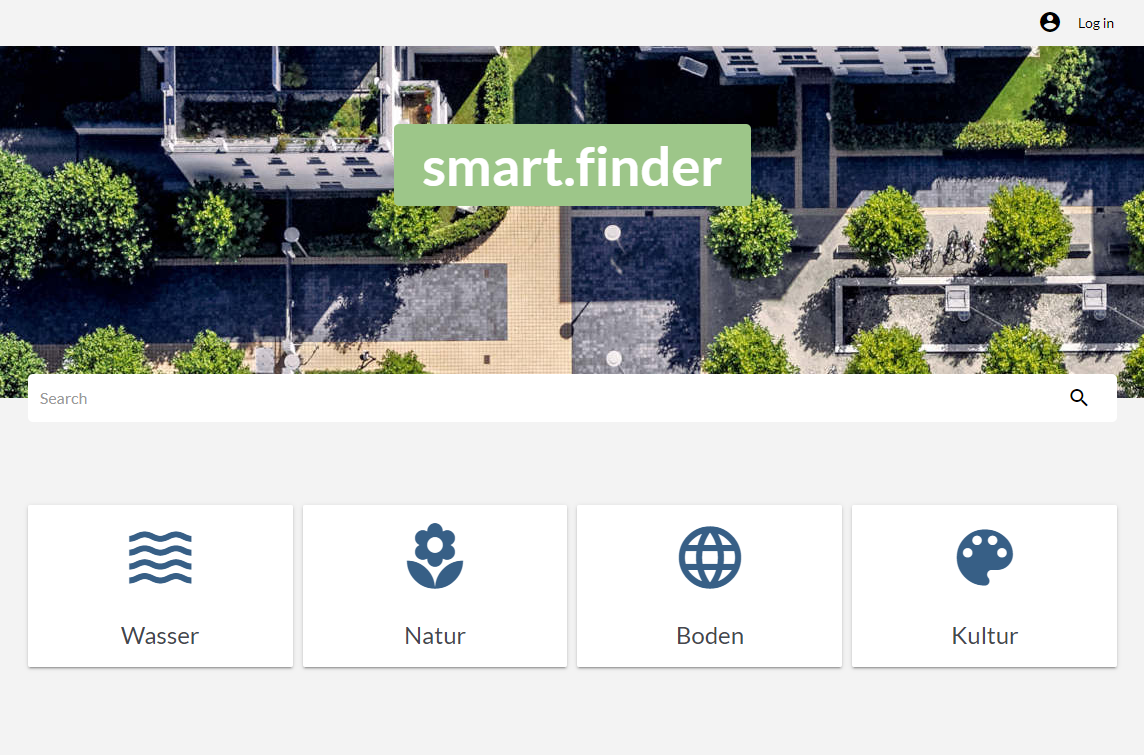
There are two basic layouts available for the smart.finder end user interface.
The full-screen-map layout (utilized in the full-screen-map app) displays a map on the entire screen. There is a search box in the upper-left corner. This layout is suitable for scenarios where the end user’s focus is mainly on displaying geographic data on the map. Additionally, the map can easily be utilized as geographic filter when searching for items with smart.finder. It also provides an example of how smart.finder can be integrated into already existing apps made with map.apps.
The full-page layout resembles an ordinary search engine having a front page with a search box. We recommend this layout for use cases where you want to have all available screen space to be used for displaying search results. Displaying geographic data on a map is not the primary focus. However, it’s still possible to filter on geographic areas using the Location filter or displaying data on a map by jumping off to a different mapping app.
The following screenshots illustrate the difference between the two layouts.
Using bundle sets
For the two basic layouts described in the previous section different sets of bundles are required to be added to the app.json file.
To simplify creating apps based on these basic layouts there are two bundles available that automatically load most of the other bundles required for such an app. That means, just add those bundle-set bundles to your app and the rest of the rest of the bundles are loaded as well.
To find out which bundles are loaded by these bundles, have a look at the dependencies property in those bundle’s manifest.json files, that you can access here:
map.apps Search UI and multiple smart.finder cores (full-screen-map layout only)
The search box in the upper-left corner of the full-screen-map layout is implemented in the bundle search-ui.
The link between smart.finder and the search-ui bundle is established by the bundle sf_search-ui-connector. So when using search-ui together with smart.finder, the bundle sf_search-ui-connector must always be added to the corresponding app.
When using the search-ui bundle, it is possible to search on multiple smart.finder cores at the same time (so-called multi-core support).
For details on the configuration of additional smart.finder cores, see the documentation for the sf_store bundle.
In previous smart.finder versions, the bundle omnisearch was used for searching instead of the search-ui bundle. omnisearch has been superseded by search-ui and it will reach its end of life in the near future. However, until omnisearch is removed from map.apps it is still supported by smart.finder. So when using omnisearch in your app, load the bundle sf_omnisearch-connector as well.
Selection and sequence of filter attributes (facets)
Next to the list of results smart.finder displays a filter widget with a list of so-called facets. Each facet represents an attribute contained in the result items. By selecting certain values from a facet you can constrain the search to get more accurate results.
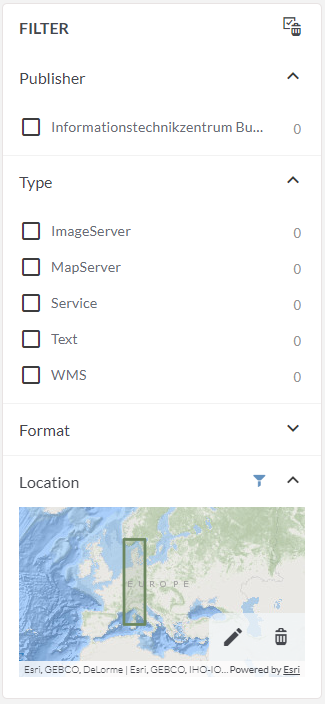
It is possible to configure these facets in detail. For example, you can hide entire facets or single values based on the current user’s role or you can take out certain facets from being queried at all. You can configure whether a facet is initially expanded or collapsed and several more things.
To remove a facet from being queried at all for all users, configure the facetFields property on the DocumentStore component for the desired smart.finder core.
For more information, see the section Configuring the attribute filter of the documentation for the sf_store bundle.
To configure all other aspects of facets, refer to the sf_resultsmodel documentation.
Synonyms of facet values
Sometimes there are result items with different values for a certain attribute but with identical meaning. For example, the values shape and Shapefile of the facet Format differ, but they both mean the same thing. It would be better if they were always displayed to the user in a consistent fashion, e.g. as SHP.
In such cases it is helpful to combine different values for a certain attribute to a single one.
You can do this configuration on the server side. Consult the documentation section for the server for more information.
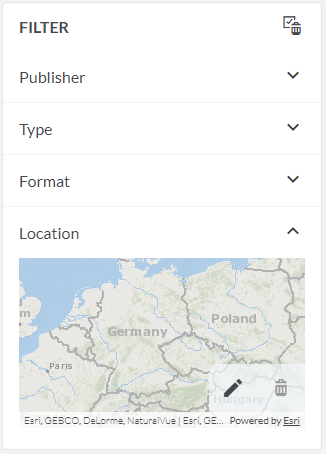
Location filter
You can set the background map and the area that is initially focused in the location filter. You can also configure the appearance of the frame in the map.
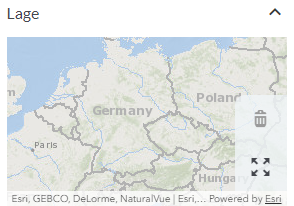
For details, see the documentation for the bundle sf_geo-extent-filter.
Sorting results items
You can configure which fields are offered for sorting on the results page.
For details, see the documentation for the bundle sf_resultlist.
Map display of the spatial extent of a resource
If the smart.finder results page is displayed in a window within map.apps, the user can move the mouse over the individual results to highlight the corresponding area on the map.
You can change the appearance of the frame in the map that represents the spatial extent. For details, see the documentation for the bundle sf_spatial-extent-viewer.
Detail view
When users click on an entry in the result list, they are presented with detailed information in the detail view.
For details, see the documentation for the bundle sf_layout-generator.
Use of the resultcenter
The smart.finder search results list can be displayed in the smart.finder result list but also in the map.apps Result Center.
For details, see the documentation for the bundle sf_resultlist-resultcenter.
Currently, this feature can only be used in apps that contain one DocumentStore and one SmartSearchStore, but not multiple DocumentStores.
In other words, displaying smart.finder results in the map.apps Result Center is not possible for multiple smart.finder cores, except in the case just outlined.
|
Search
There are several ways to configure the behavior of the smart.finder search, which are explained in the following sections.
The following settings are only valid in conjunction with the smart.finder DocumentStore. If you are using smart.finder in an app with additional data stores (e.g. AGSStore or SmartSearchStore), wildcard characters and phrases in the data store implementations might be handled differently.
|
Phrase and wildcard search
smart.finder supports phrase and wildcard search as described in Search index. This search feature is enabled by default, but can be disabled, if required.
For details, see the documentation for the bundle sf_search-term-config.
Configure search fields
smart.finder search uses two different fields of the associated index to perform a full text search. If you want to use a customized index or run the search on other fields, these fields can be customized by configuration.
For details, see the documentation for the bundle sf_resultsmodel.
Search hints
In order to use the smart.finder search efficiently, each search field in the user interface has an info button, which opens a window with search tips. The content depends on whether phrase or wildcard search is enabled. In addition, you have various options to customize the content of the window.
You can use the default instructions or provide your own content. For details, see the documentation for the bundle sf_search-hints.
Templates for Solr queries
smart.finder supports templates for queries to the Solr backend. This allows you to tailor the results of the search to your own needs, e.g. searching on a different field in the index, or querying the search term in different variants and different weights.
Templates can be defined for the DocumentStore component from the sf_store bundle as well as for the SmartSearchDocumentStore component from the sf_smartsearch bundle.
In the section Templates for Solr queries this mechanism is described in detail.
For details on how to configure a template for Solr queries on a store, see the documentation for the sf_store bundle.
| Instances of SuggestStore do not support templates for Solr queries. |