Deploy a bundle to a map.apps instance
In the previous chapter "Your first bundle" you created the "weather" bundle from scratch. You also added another app to your map.apps for Developers project that uses this bundle.
You have seen that map.apps for Developers allows you to develop bundles and apps on your local machine. Its setup is optimized for development, though. But at the end of the day, apps are targeted to run on a "real" map.apps instance. map.apps (the product, as opposed to map.apps for Developers) comes with additional features like a web-based multi-user administration tool for apps and bundles that are stored in a database.
What you need
To follow the steps of this tutorial, you need the following:
-
You successfully ran the steps of the tutorial "Your first bundle".
-
You have got access to the latest map.apps distribution zip file, downloaded from con terra , for example.
Step 1: Install map.apps
Let’s first install map.apps on your system:
-
Install map.apps as described in the official product documentation, regarding these notes:
-
Don’t install a database system. It is ok to use the default HSQL database.
-
Don’t set up HTTPS with Tomcat.
-
Set the password for administrative access to
admin. Never specify such a simple, easy-to-guess password for any other map.apps instance than the one running on your dev machine.
-
-
Verify the installation:
-
In a browser, open http://localhost:8080/mapapps/manager
-
Log in as user
adminwith passwordadmin.
-
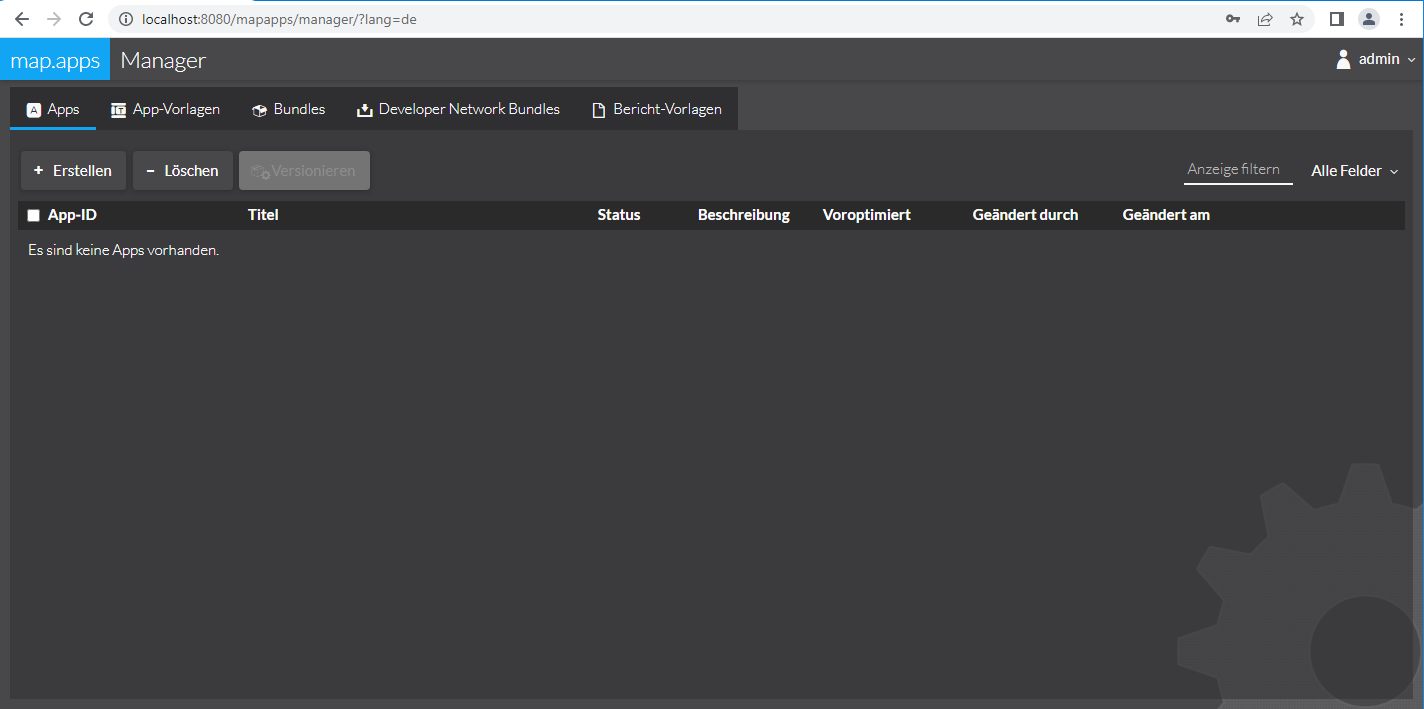
If you logged in successfully you should see map.apps Manager app management view like this:
Step 2: Prepare app and bundle
In this tutorial we will take the weather app and the weather bundle we developed using map.apps for Developers and deploy them to a dedicated map.apps instance. map.apps for Developers helps us transfer the files with a VS Code build task that generates easy to handle packages.
To generate the packages, follow these steps:
-
Open map.apps for Developers in VS Code. Make sure that the project contains the weather bundle and the weather app created in the preceding tutorial.
-
In VS Code’s top-most menu, click Terminal → Run Task → Compress. Alternatively you can press Ctrl+Shift+B and select Compress to get the same result.
The task will take some time to run as you can observe in the tasks terminal tab. When ready the terminal states:
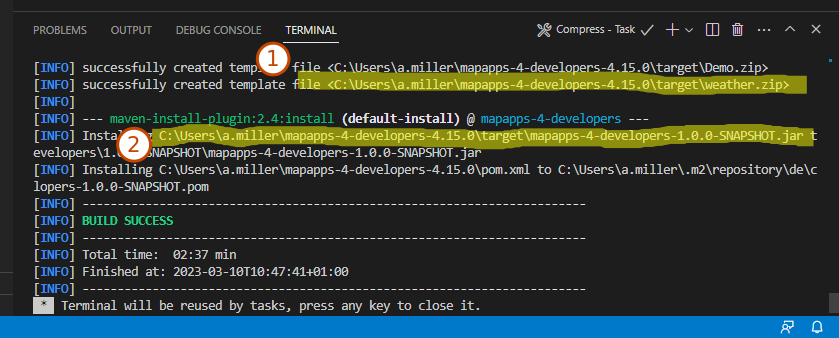
The task created two packages we are interested in. They are highlighted in the above screenshot:
-
(1) This is the zipped weather app.
-
(2) This jar file contains all bundles defined in map.apps for Developers. This includes the
weatherbundle implemented.
We are now ready to deploy the files to the map.apps instance.
Step 3: Upload app and bundle
We will now use the map.apps Manager to upload and deploy the bundles and the app to the map.apps instance.
-
Open the map.apps Manager URL http://localhost:8080/mapapps/manager in a browser.
-
If necessary log in as user
adminwith passwordadmin. -
Click Bundles → + Upload. This will open the "Bundle Upload" dialog
-
Click Upload and select the file
mapapps-4-developers-1.0.0-SNAPSHOT.jarfromC:\Users\a.miller\mapapps-4-developers-<version>\targetthat we generated in the previous step. -
Close the "Bundle Upload" dialog.
-
Click Apps → + Create. This will open the "New App" dialog.
-
Enter the following values:
-
Title:
weather -
App ID:
weather -
Description:
An app that displays weather information
-
-
Click Next → Upload app → Done. This will open the "Upload app" dialog.
-
Click Upload app and select the file
weather.zipfromC:\Users\a.miller\mapapps-4-developers-<version>\targetthat we generated in the previous step. When the upload is finished, a dialog with the title "App 'weather'" is displayed. -
In this dialog, click Next once to get to the "Common Information" form.
-
In this form, set the State to Published.
-
Then click Next several times until you can close the dialog with Done.
The weather app and its bundles are now deployed and available in the map.apps instance.
Start the weather app by opening the URL http://localhost:8080/mapapps/resources/apps/weather in a browser. When you open the Developer tools, by pressing Ctrl+Shift+I, for example, you will find the current weather information printed out at the top of the console.
Recap
Within this tutorial, we deployed apps and bundles, which we developed in a map.apps for Developers project, to a dedicated map.apps instance.
Before deploying the files to map.apps we needed to run the "Compress" task in VS Code. Running this task is necessary whenever you want to deploy bundles and apps from a map.apps for Developers project to a map.apps instance.
When the files were created, we logged in to the map.apps Manager to upload them. This allows to reference the bundles in any app that is defined on this map.apps instance.