Connecting Keycloak
Using the OAuth 2.0 protocol, the Identity Service can delegate the authentication of users to Keycloak . This means that a user can log in with an account managed by Keycloak.
Connecting to Keycloak is done in three steps:
-
First, you register the Identity Service as a client in Keycloak.
-
Then, you adjust the configuration of the Identity Service, so that the Login can be delegated to Keycloak.
-
Finally, you configure other con terra products to use the Identity Service.
| The following description is based on version 26.3.5 of Keycloak. |
Step 1: Register Identity Service
The Identity Service must be registered as a client in a Keycloak installation to allow login with an account managed by Keycloak.
The client is created within a so called realm. The following description assumes that a realm has already been created.
Extensive configuration options are available for a client. We assume that properties not mentioned in the following descriptions have an appropriate default value.
Proceed as follows to register Identity Service as a client:
Create a client
-
Log in to the admin console of Keycloak with your administrator account.
-
Select the desired realm (using the master realm is not possible).
-
Select Clients.
-
Click Create Client to create a new client.
-
Use the following settings in the General Settings tab:
-
Client type:
OpenID Connect -
Client ID:
identity-service
-
-
Click Next
-
Use the following settings in the Capability config tab:
-
Client authentication:
On -
Standard flow: checked
-
-
Click Next.
-
Root URL: URL of your Identity Service installation, for example
https://www.example.com/identity -
Valid redirect URIs: Specify the
accountpath of Identity Service, for examplehttps://www.example.com/identity/account/*
-
-
Click Save. The Settings tab of the newly created client is shown.
-
Apply the following settings to further configure the client:
-
Front channel logout:
Off -
Backchannel logout URL: (Optional) Specify the
logoutendpoint of Identity Service, for examplehttps://www.example.com/identity/account/logout
-
-
Click Save
-
Switch to the Credentials tab.
-
Note the displayed client Client Secret at any position. It is later required for the configuration.
-
Step 2: Configure Identity Service
The following parameters must be added or changed in the global Configuration.
# application.properties
security.oauth.provider=keycloak
security.oauth.provider.keycloak.url=http://keycloak.example.com
security.oauth.provider.keycloak.realm=yourrealm# secrets.properties
security.oauth.clientId=identity-service
security.oauth.clientSecret=NJrrsZXVm8CvnhF7owT6m50CXhbnN55wsecurity.oauth.provider-
The value
keycloakspecifies that Keycloak is the identity provider. security.oauth.provider.keycloak.url-
URL of your Keycloak deployment, for example
http://keycloak.example.com. security.oauth.provider.keycloak.realm-
Name of the realm.
security.oauth.clientId-
ID of the Keycloak client defined in step one.
security.oauth.clientSecret-
Secret of the Keycloak client defined in step one.
The secret is displayed in the Credentials tab of the client in Keycloak.
Step 3: Test configuration
You can test the configuration of Keycloak as identity provider by performing a login initiated by the Identity Service. Follow these steps:
-
Make sure you have a Keycloak user account
-
If you are logged in to Keycloak, log out.
-
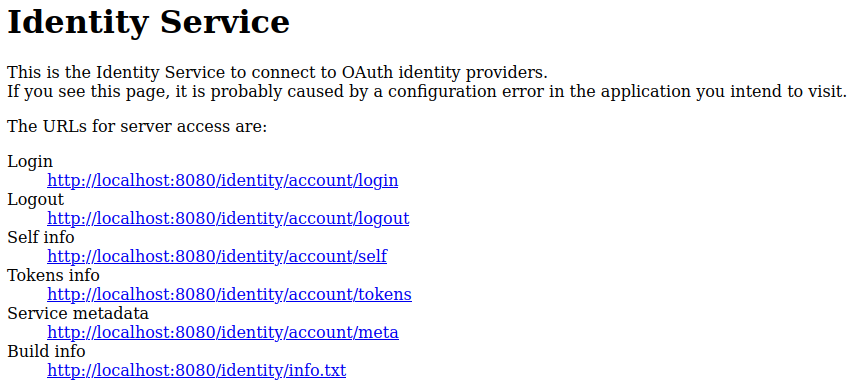
Open the Identity Service base URL, http://www.example.com/identity or http://www.example.com:8080/identity, for example. Make sure to use the exact same URL that you specified as Root URL when registering the Identity Service at Keycloak in step 1 of this document.
The browser displays a page with a list of available service endpoints:
-
Click the link titled Login. The browser will redirect you to the Keycloak login page.
-
Enter username and password of your Keycloak account to login.
After successful login you are redirected to the Identity Service "Self" endpoint (/identity/account/self).
If your Keycloak account data is displayed as JSON, you successfully connected Keycloak with the Identity Service.
Step 4: Customize role mapping (optional)
When connecting other con terra Technologies products with the Identity Service, you may need to ensure that authenticated users have certain roles to access the product features. Please refer to the respective product documentation to find out which roles are required.
In the article about role mapping, you will find more information about how Keycloak roles are translated into Identity Service roles and how you can customize this if needed.
Next steps
After you have connected Keycloak with the Identity Service, you need to configure services, which require an access token, as trusted services in the Identity Service. This allows users of applications, which make use of the Identity Service, to access these trusted services without further login.