Job-Manager
In order to obtain results in the search, you must first create an indexing job.
This is done via the Job Manager.
This is available after a user with administrative rights has successfully logged in (default user: admin/admin).
Administration of indexing jobs
After successful login or call you will see the following interface:
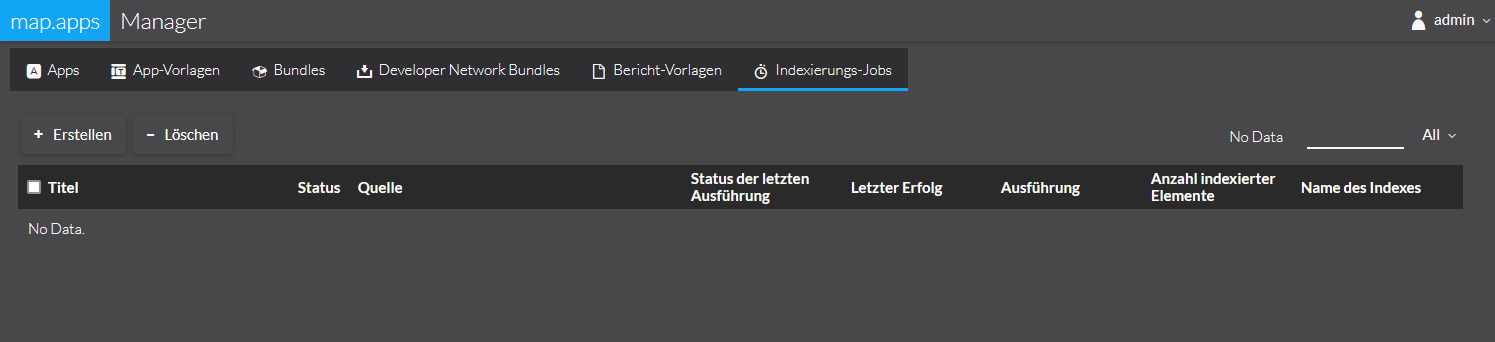
All published jobs are listed here. These are described as follows:
- Title
-
The title of the job.
- Status
-
The current status of the indexing.
The following statuses are possible:
-
inactive: the job is currently not indexed
-
scheduled: the job will be executed in a scheduling in the future
-
pending: the job is executed at the next iteration
-
executing: the job is currently indexed
-
- Source
-
The source indexed by this job.
- status of last execution
-
successful or failed
- Last Success
-
Date of the last successful indexing.
- Execution
-
If a scheduling is configured, the next execution time is displayed here.
- Number of Indexed Items
-
Number of documents that were included in the index during the last successfully performed indexing.
- Name of the index
-
Name of the Solr Collection in which the data is indexed.
Create indexing jobs
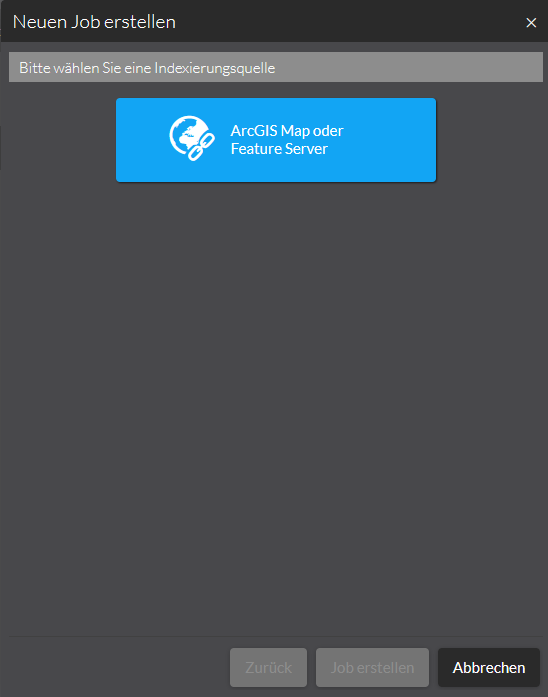
To create a new job, click on the + symbol in the upper left corner. In the selection dialogue that opens, select the option ArcGIS Map or Feature Server.
Enter the following parameters in the next dialogue:
- Title
-
The title of the job.
- URL
-
URL to the ArcGIS Server Layer.
- Send status message to
-
Comma-separated list of email addresses to which status changes are sent.
- Name of Index
-
The name of the index into which the ArcGIS Server features are to be indexed. If no value is selected, the default index is used (defined by property
solr.default.core.name). - Scheduling
-
Repeats the execution of the job in specified intervals. See Schedule indexing jobs
Schedule indexing jobs
In addition to starting jobs manually, you have the option of repeating them at specific times and having them run automatically. To do this, you can explicitly define a scheduling for each job. To do this, activate the Scheduling option when creating a job. You can also define a scheduling for a job later.
- When?
-
A predefined list of values that cover specific time periods.
These are:
-
Every full hour (i.e. hourly)
-
Every day at 00:00 (i.e. daily)
-
Every Sunday at 00:00 (i.e. weekly)
-
Every 1st day of the month at 00:00 (i.e. monthly)
-
- Cron Job
-
Here the temporal pattern is entered in the cron notation.
- Status
-
Here you define whether the scheduling should be activated (scheduled) or paused (inactive).
| The predefined notations cover a wide range of applications. Should you still prefer to schedule the job yourself, you can set the setting to User Defined and define your own cron job. The explanation can be found documented in the Quartz framework, which is used on the server side: Quartz Cron Trigger Tutorial |
If a scheduling is defined for an indexing job, the following statuses result from this:
| Status | Meaning |
|---|---|
|
This is the normal state: the job is in the queue and it continuously checks whether the interval specified by the Scheduler has been reached. |
|
The interval specified by the scheduler is currently reached. The job is waiting for a free space in the execution chain. |
|
indexing of the job is running. After successful indexing, the scheduled state is set for the job again. |
|
A scheduling is defined for the indexing job, but is currently paused. |